AI image changer · edit, compare, refine

AI Image ChangerChange the image.Keep the idea.

ImageRework is an AI image changer for edits that need a second pass. Upload a photo, describe what should change, compare the generated result with the original, then mark the areas that still need attention.

Whole-image editsUp to 5 marked areasConnected version history
Start with your image ↓
01 Upload02 Describe03 Compare + refine
1

Upload photo

JPG, PNG or WEBP · up to 10 MB

Drop a photo hereor click to choose
2

Describe the change

Say what to change and what to keep.

Charged only after a result is saved. Failed edits use 0 credits.

One prompt. A visible difference.
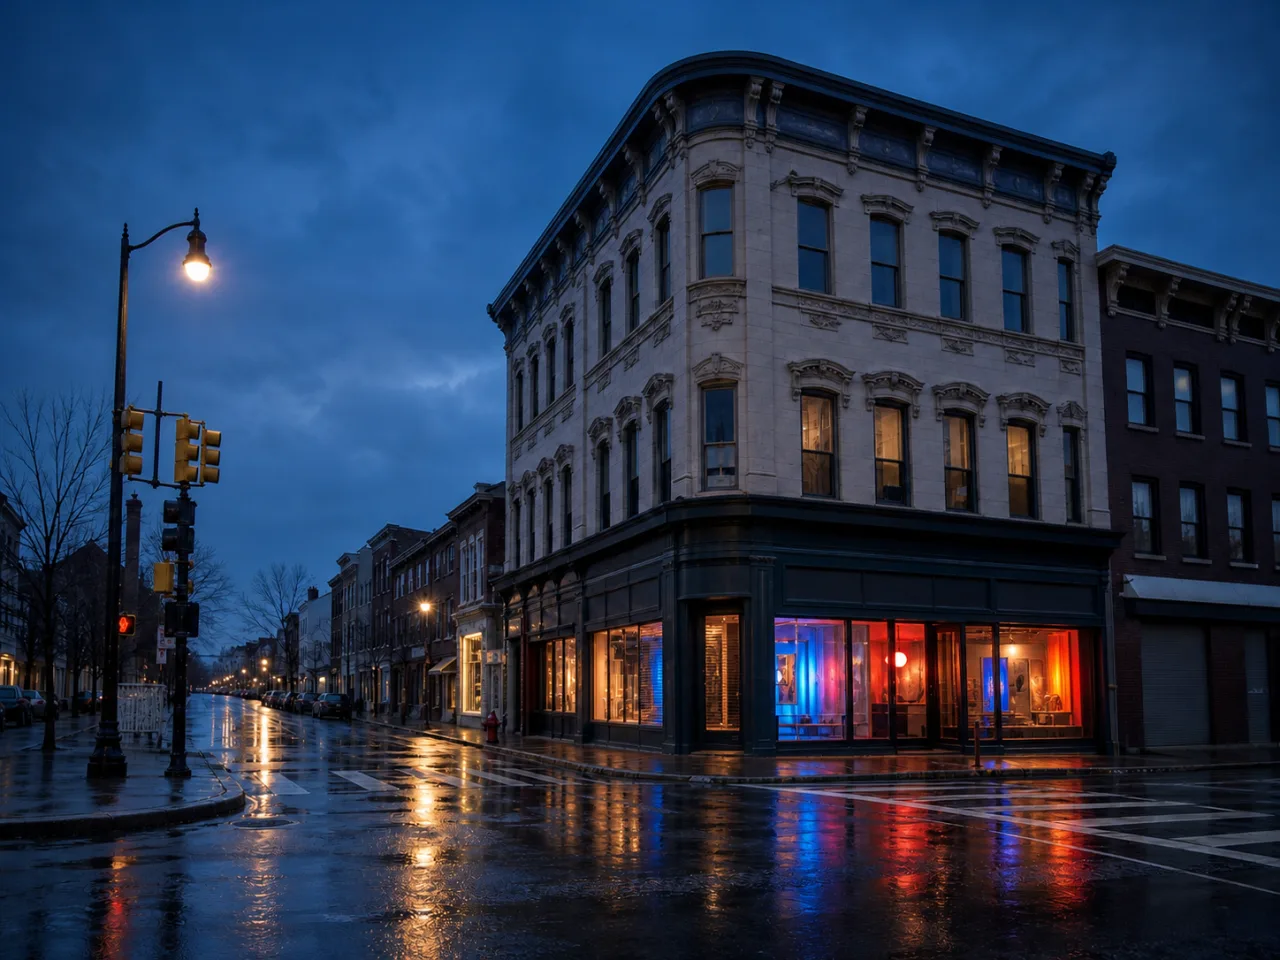
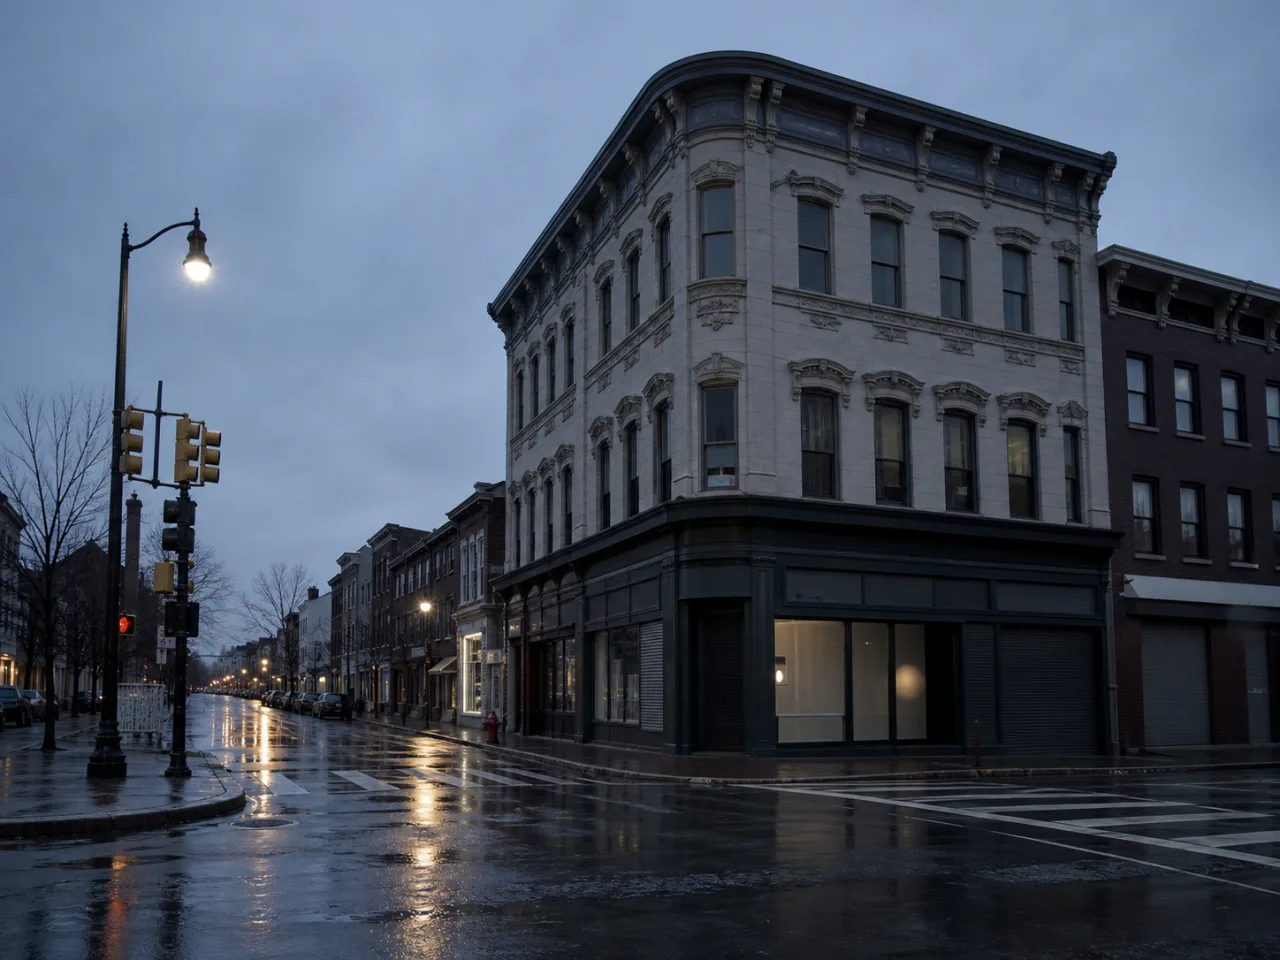
BeforeRainy storefront before an AI image change
AfterColorful storefront after an AI image change

Demo prompt Open the corner shop with cobalt, coral, and amber light. Keep the building and camera angle.

  • Change the whole image
  • Compare before and after
  • Mark up to 5 areas to refine
Real prompts, visible changes

One editor. Four different kinds of rework.

An effective AI image editor should show the source, the result, and the instruction that connects them. These examples were created for ImageRework and cover scenes, products, removal, and visual style—not a wall of interchangeable portraits.

BeforeBefore: A rainy city storefront changed into a colorful cinematic night scene
AfterAfter: A rainy city storefront changed into a colorful cinematic night scene

Turn a quiet storefront into a cinematic night scene

Prompt “Open the corner storefront as a contemporary art shop with cobalt, coral, and amber light. Strengthen the wet-street reflections. Keep the camera angle and architecture unchanged.”

01 · Atmosphere + lighting

Turn a quiet storefront into a cinematic night scene

The building, road, windows, and perspective stay recognizable while the edit concentrates on the storefront, sky, and reflections. This works when the composition is right but the mood is not.

Open this workflow →
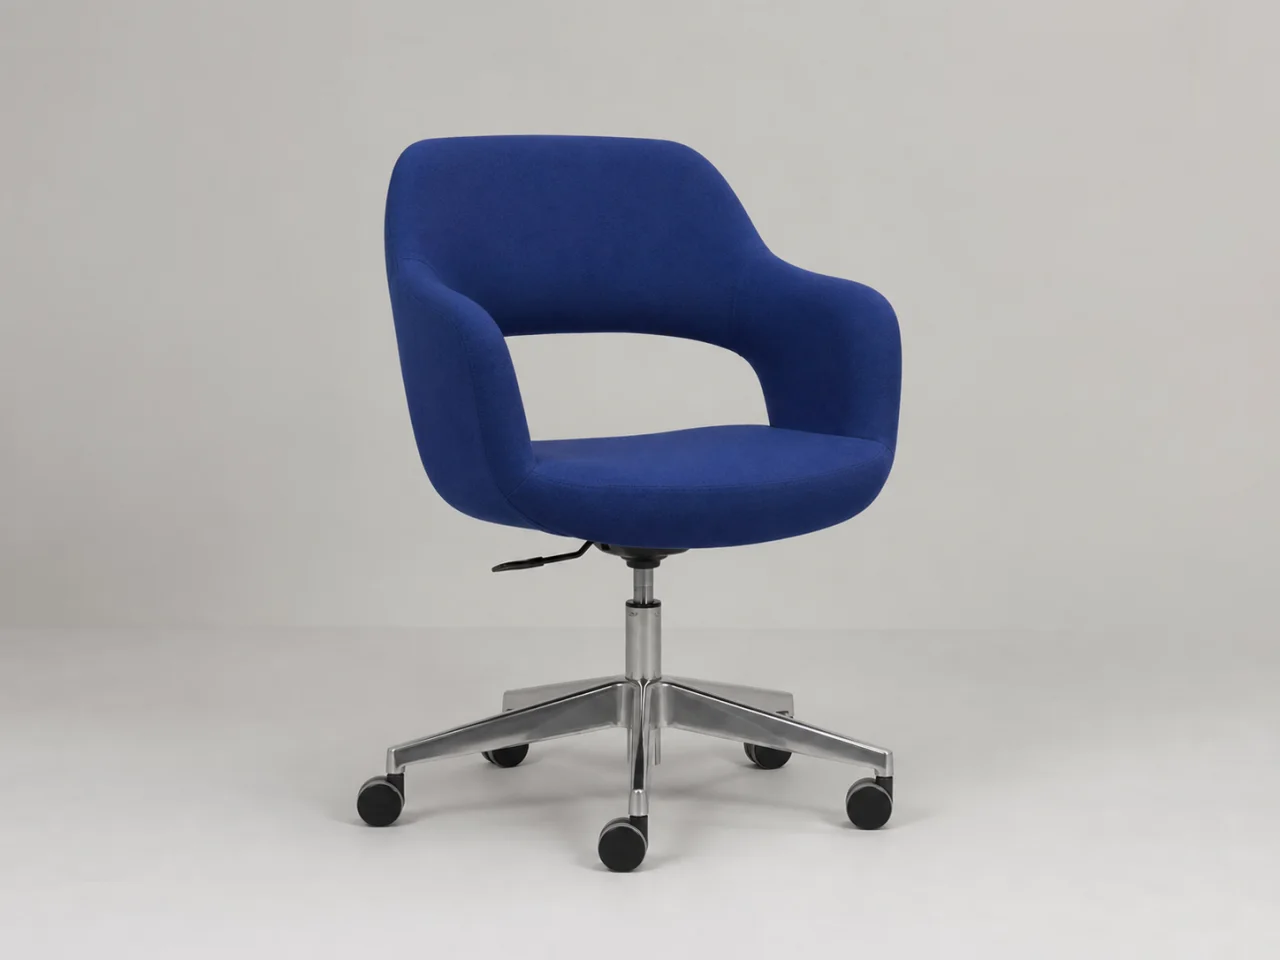
BeforeBefore: A cobalt chair moved from a plain studio into a colorful campaign set
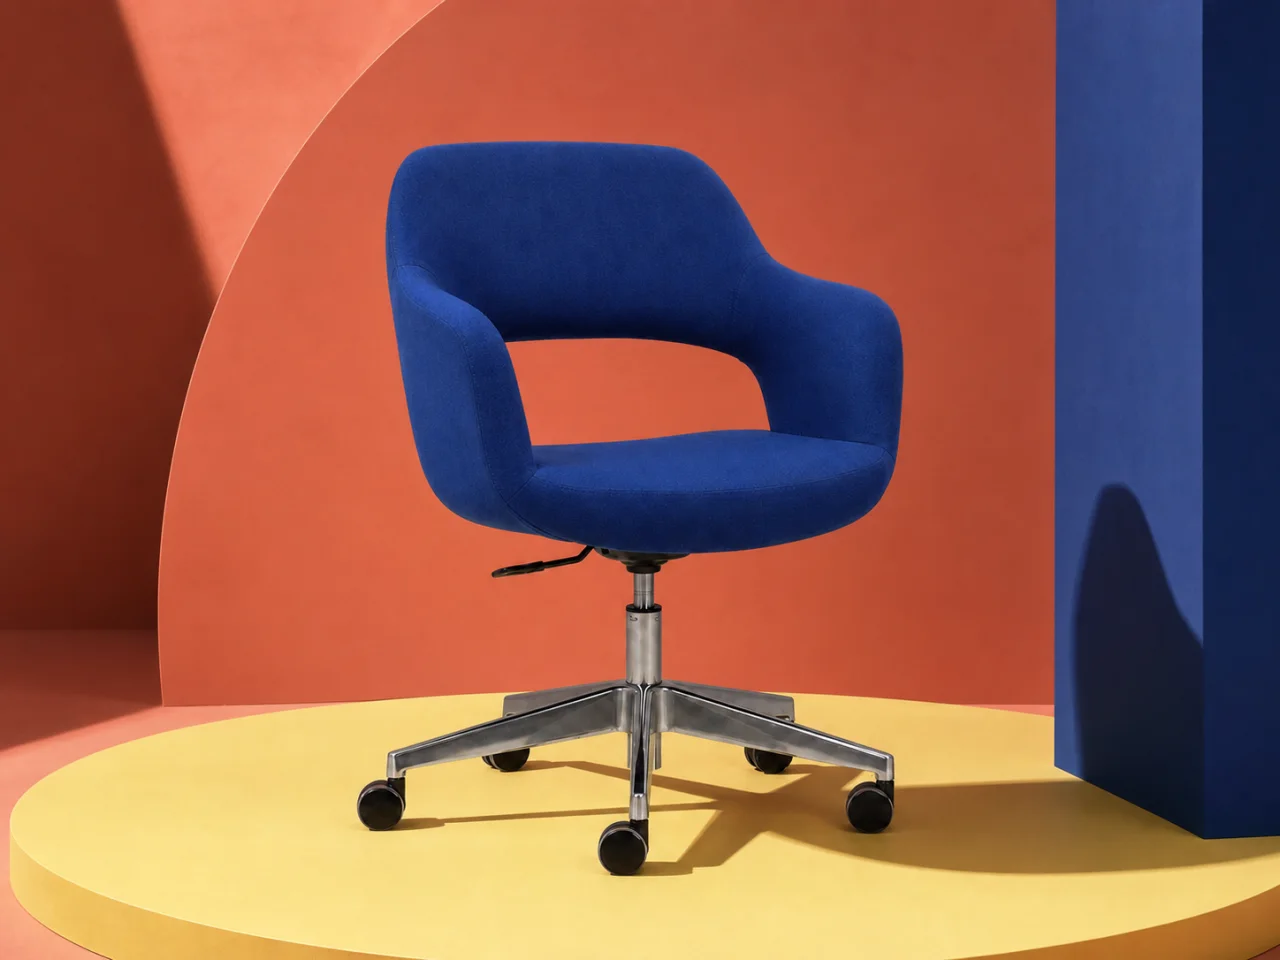
AfterAfter: A cobalt chair moved from a plain studio into a colorful campaign set

Build a campaign scene around an existing product

Prompt “Keep the cobalt chair and camera position unchanged. Replace the plain studio with a coral architectural set, an acid-yellow platform, crisp directional light, and hard editorial shadows.”

02 · Product art direction

Build a campaign scene around an existing product

The chair remains the visual anchor while the background and lighting become a complete campaign direction. ImageRework keeps the original beside the result so product edges and proportions can be checked.

Open this workflow →
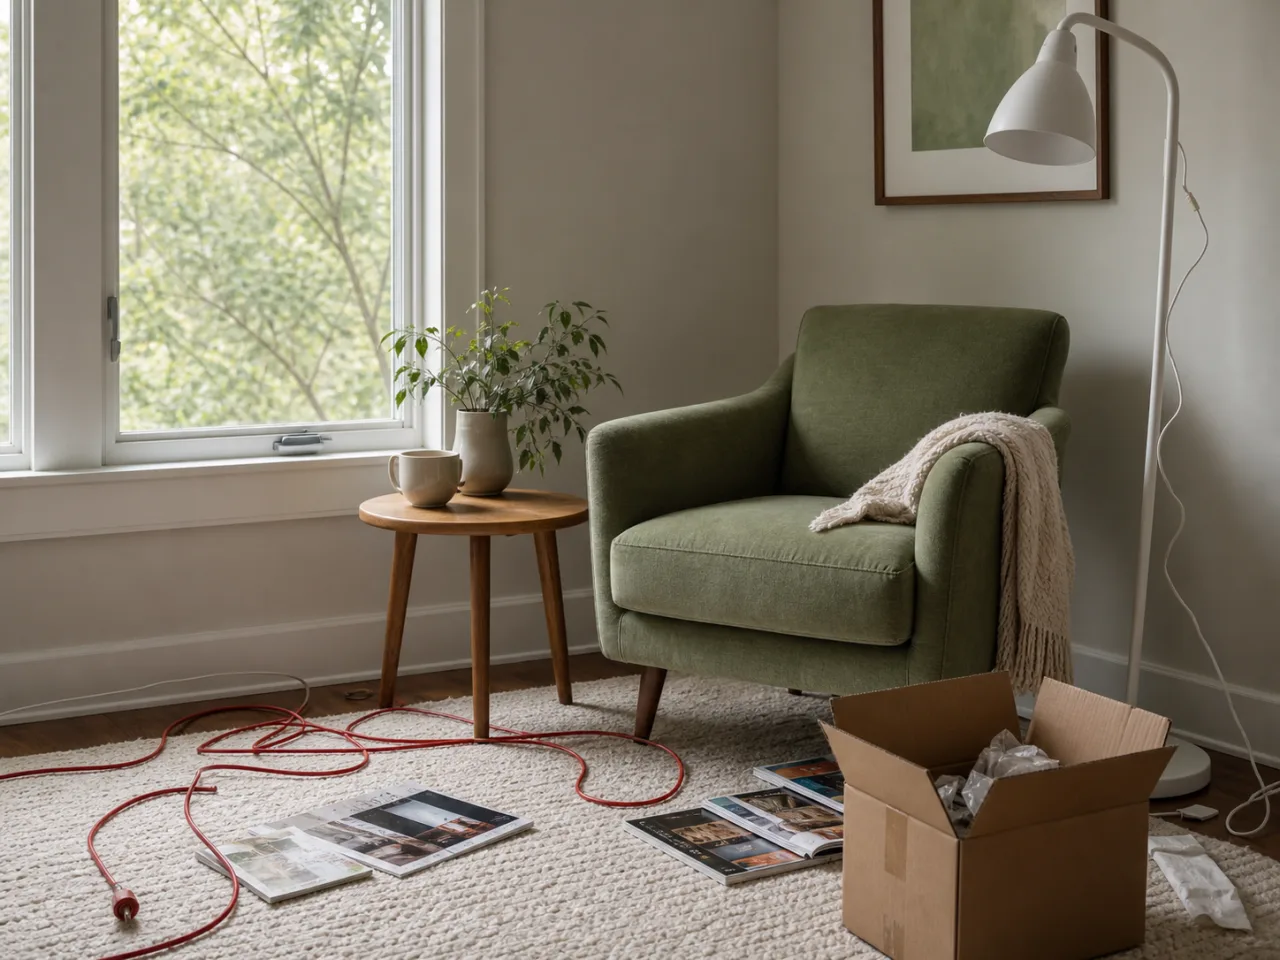
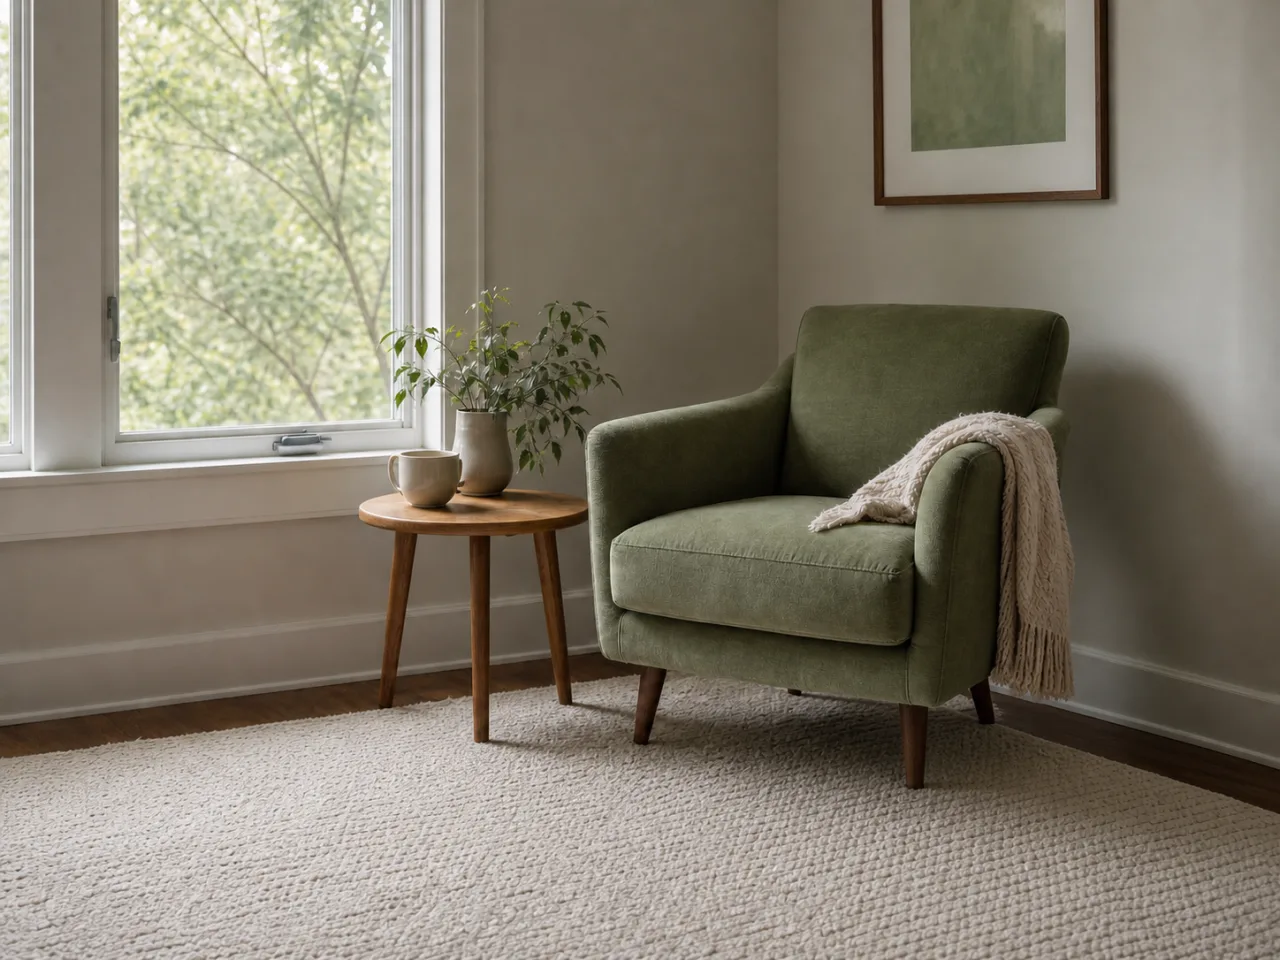
BeforeBefore: A cluttered reading nook cleaned with AI object removal
AfterAfter: A cluttered reading nook cleaned with AI object removal

Clear distractions and rebuild what should be behind them

Prompt “Remove the red cable, cardboard box, packing material, floor lamp, and scattered magazines. Reconstruct the rug, wall, baseboard, and floor naturally. Keep the chair, table, plants, window, and light unchanged.”

03 · Object removal

Clear distractions and rebuild what should be behind them

A strong removal prompt names each unwanted object and the surfaces to rebuild. If a rug edge or floorboard still looks wrong, mark it and create a focused child version.

Open this workflow →
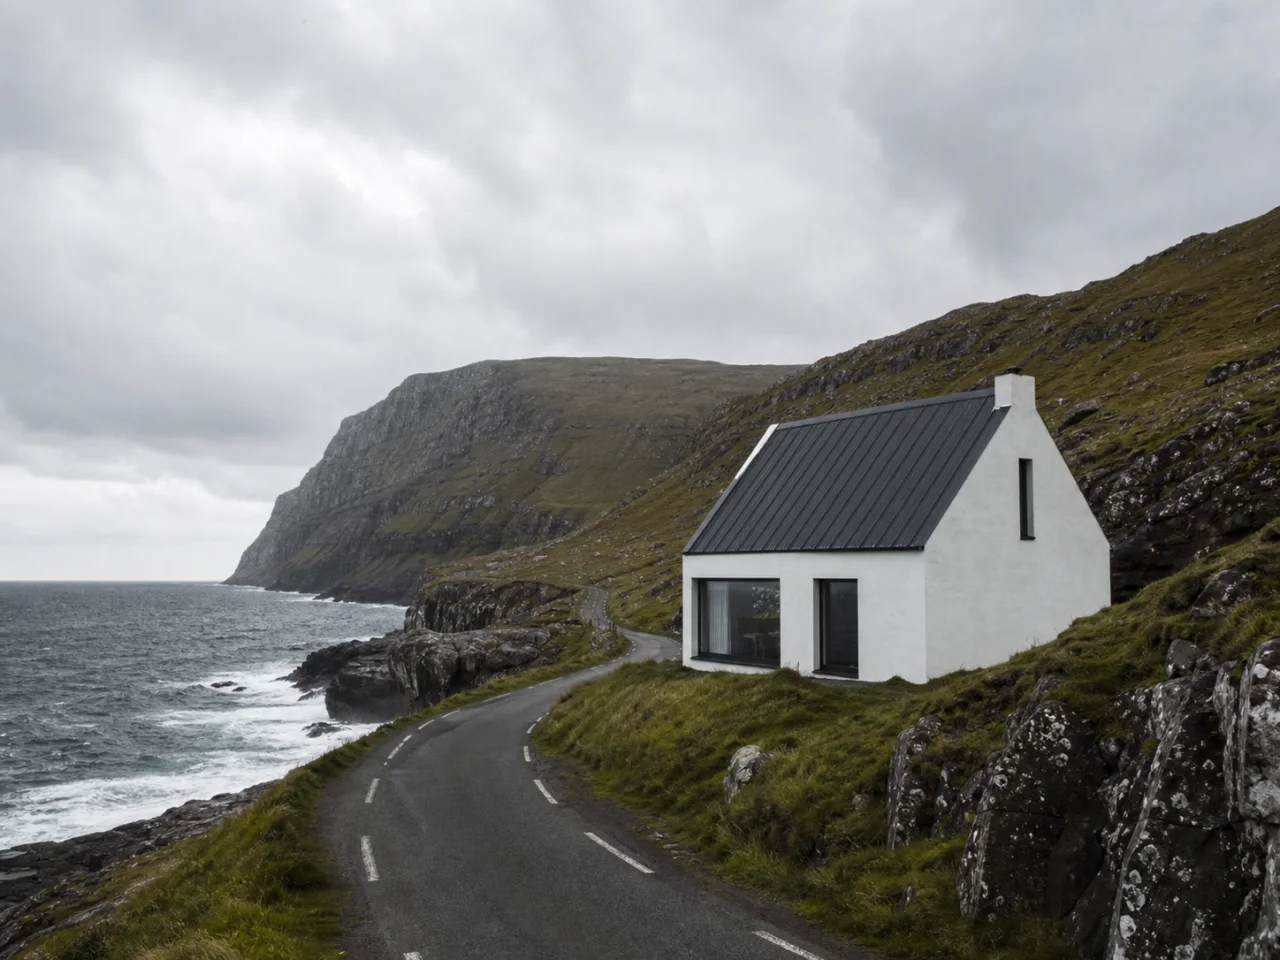
BeforeBefore: A coastal cabin photograph restyled as a colorful relief-print illustration
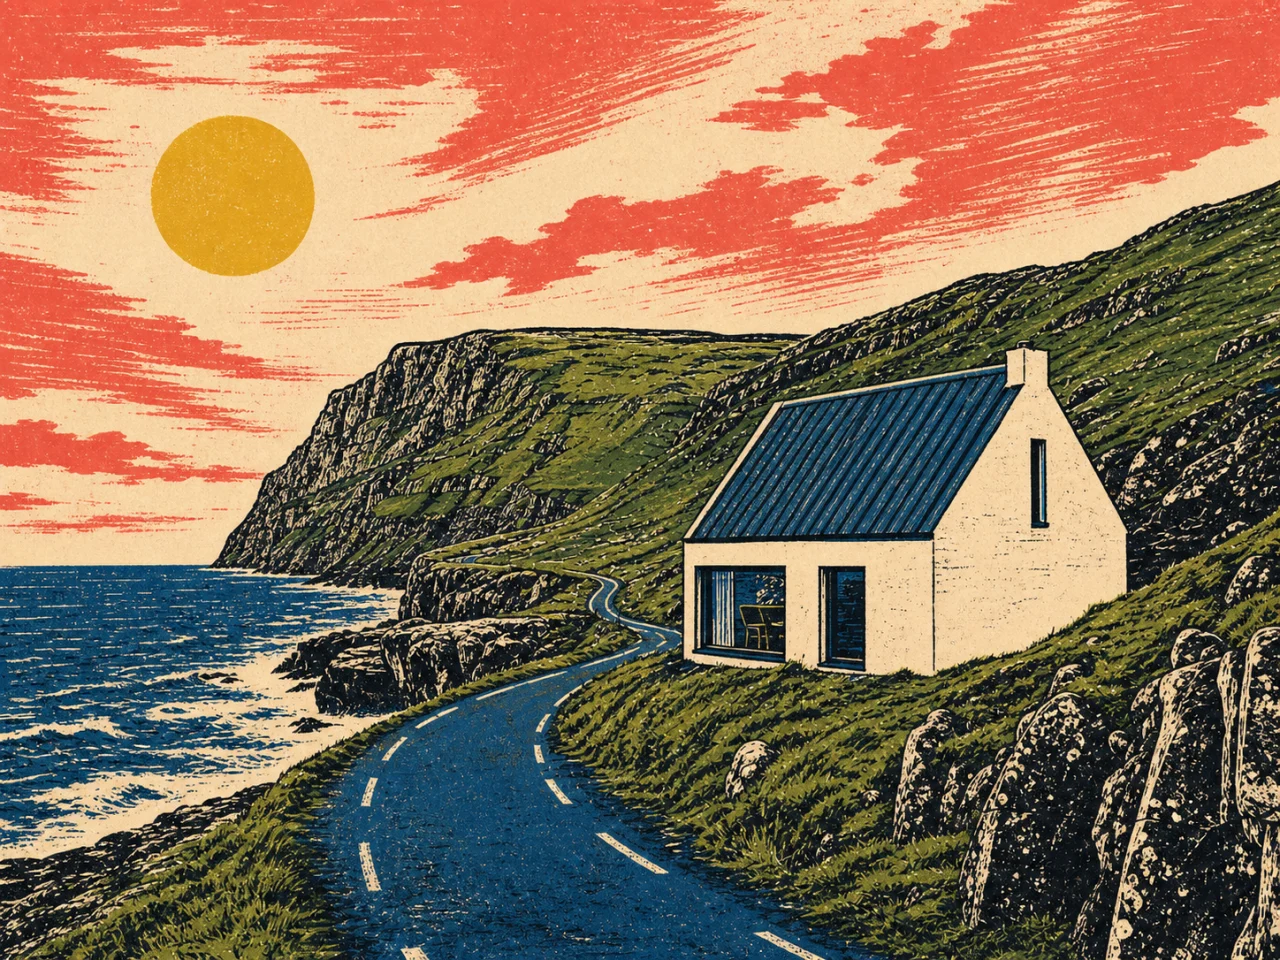
AfterAfter: A coastal cabin photograph restyled as a colorful relief-print illustration

Keep the scene, change the visual language

Prompt “Preserve the road curve, cabin shape, cliff, coastline, and camera angle. Restyle the scene as a hand-inked Western relief-print poster with bold black keylines and a limited cobalt, coral, cream, green, and yellow palette.”

04 · Image-to-image style

Keep the scene, change the visual language

Image-to-image work can be dramatic without discarding the original arrangement. Naming the road, cabin, cliff, coast, and camera angle creates a preservation checklist while style changes.

Open this workflow →
A simple editing loop

Make the big change first. Fix the details without starting over.

The ImageRework workflow is designed around the moment when a first AI edit is close, but one sign, reflection, edge, or material is still wrong. Instead of rewriting everything, you continue from the saved result.

1

Upload a useful source

Choose a clear image under 10 MB. You can prepare the file and prompt without an account. Keep the subject, product, or structure you want to preserve clearly visible.

2

Describe change and preservation

Write one main request, then say what must stay: composition, camera angle, subject position, product geometry, identity, or lighting. Concrete nouns work better than vague praise.

3

Compare before and after

Drag across the result and inspect both versions. The original remains visible because an attractive edit is not useful if it silently breaks an important label, edge, face, or object.

4

Mark the parts that need work

Add up to five numbered areas. Each marker can have its own instruction, plus one overall note. The next successful result becomes a child version, so the earlier image remains available.

What the product actually promises

Useful evidence beats anonymous stars.

ImageRework is new, so this page does not invent customer names, employer logos, usage totals, or five-star reviews. The evidence available today is the workflow itself: editable prompts, visible before-and-after images, explicit credit rules, saved versions, and honest boundaries around generative refinement.

A reliable AI image changer should handle failure clearly. Your prompt stays in the browser when sign-in opens, and repeated clicks share one submission identity. A successful edit uses 3 credits; failed, timed-out, blocked, or duplicate requests use 0.

Task brief 01“Change the scene, keep the product.”

Best for catalog shots and campaign variations. Inspect silhouette, hardware, labels, and shadows at full size.

Task brief 02“Remove this, rebuild the surface.”

Best for cables, signs, boxes, reflections, and background clutter. Name the wall, floor, fabric, or landscape that should continue.

Task brief 03“Keep the composition, change the style.”

Best for art direction. Preserve framing and placement, then specify medium, palette, texture, and light.

System facts
  • 6 signup credits
  • 3 credits per successful edit
  • Up to 5 marked areas
  • 0 credits for failed work
Frequently asked questions

Know what will happen before you upload.

These answers explain the cost, account flow, preservation strategy, local refinement, version history, and current precision boundary of the ImageRework AI image changer.

See credit packs
What is an AI image changer?+

An AI image changer uses an uploaded picture as visual context and follows a written edit. Request a new background, remove an object, alter lighting, change materials, or restyle a scene. ImageRework keeps the original available for comparison.

How is ImageRework different from a one-click filter?+

A filter applies one fixed treatment. ImageRework reads a specific prompt, including details that should remain stable. After the first result, mark up to five areas and give each a separate follow-up instruction.

Can I change only one part of a photo?+

Yes, with a limitation. Create a result, open marked-area refinement, and place markers on the parts that need attention. Markers guide the model but are not strict pixel locks, so compare important details with the source.

Do I need an account before I prepare an edit?+

No. You can choose an image, write the prompt, and select a quick task before signing in. Sign-in is requested only when you generate. The draft prompt remains in the browser, so authentication does not force you to rewrite the instruction.

How many credits does an edit use?+

A successful whole-image edit or refinement uses 3 credits. New accounts receive 6 credits. Failed, timed-out, blocked, and duplicate requests use 0. The cost appears beside the generate button.

What images work best?+

Use a clear JPG, PNG, or WEBP under 10 MB. Keep the main subject and important edges visible. Ask for one main transformation first, then handle smaller corrections with marked areas.

How do I keep the rest of the image unchanged?+

Name the change, then list preservation rules such as camera angle, composition, position, product shape, identity, or lighting. Generative editing can still shift details, so inspect the result rather than assuming identical pixels.

Can I return to an earlier result?+

Yes. Every successful edit is saved inside a project with its parent and root version. You can inspect the sequence, return to an earlier result, and continue a different direction without losing the work that came before it.

Is this a strict mask-based photo editor?+

Not in the first release. Numbered areas are strong visual guidance for a generative refinement, not a hard Photoshop-style mask. The product describes this boundary directly because users should know when a high-precision manual editor is still the safer choice.

Your image already has the idea.

Rework the parts that are holding it back.

Open the AI image changer ↑